Introduction
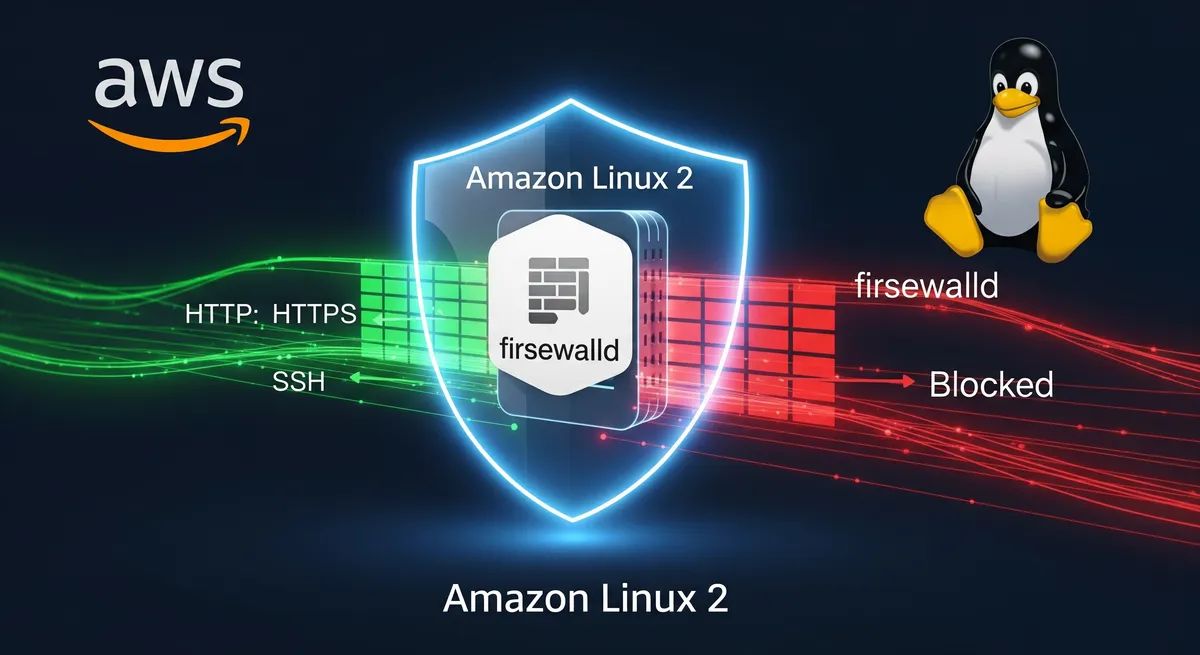
We will learn how to install and setup FireWall on Amazon Linux 2 in this tutorial. We will also discover how to set up FireWall so that it functions with the Amazon Linux 2.
Prerequisites
To follow along with this tutorial, you will need:
- An Amazon Linux 2 EC2 instance with a public IP address.
- A user with sudo privileges.
Install and Setup Firewalld on Amazon Linux 2
Step 1: Install Firewalld
Before we can install FireWall, we must first update the system.
# Update the systemsudo yum update -yNow that the system has been updated, we can install FireWall.
# Install FireWallsudo yum install firewalld -yNext, after installing FireWall, it’s time to verify whether the iptables service is running.
# Check if the iptables service is runningsudo systemctl status iptablesIf the iptables service is running, we need to stop it.
# Stop the iptables servicesudo systemctl stop iptablesNow that the iptables service is stopped, we can start the FireWall service.
# Start the FireWall servicesudo systemctl start firewalldTo verify that the FireWall service is running, we can use the following command.
# Check if the FireWall service is runningsudo systemctl status firewalldNewly installed FireWall services are not enabled by default. To enable the FireWall service, we can use the following command.
# Enable the FireWall servicesudo systemctl enable firewalldStep 2: Configure Firewalld
Now that the FireWall service is running, we can configure it. To configure the FireWall service, we can use the following command.
# Configure the FireWall servicesudo firewall-cmd --permanent --zone=public --add-service=httpsudo firewall-cmd --permanent --zone=public --add-service=httpssudo firewall-cmd --permanent --zone=public --add-service=sshsudo firewall-cmd --reloadList Firewalld Zones
# List Firewalld Zonessudo firewall-cmd --get-zonesList Services Default Zone
# List Services Default Zonesudo firewall-cmd --get-servicesTo verify that the FireWall service is configured correctly, we can use the following command.
# Check the FireWall service configurationsudo firewall-cmd --list-allList All Firewalld Zones
# List All Firewalld Zonessudo firewall-cmd --list-all-zonesStep 3: Set Up Default Firewalld Zone
To set up the default Firewalld zone, we can use the following command.
# Set up the default Firewalld zonesudo firewall-cmd --set-default-zone=publicStep 4: Check FireWall Status
To check the FireWall status, we can use the following command.
# Check the FireWall statussudo firewall-cmd --stateStep 5: Assigning Services to Firewalld Zones
To assign services to Firewalld zones, we can use the following command.
# Assign services to Firewalld zonesfirewall-cmd --statefirewall-cmd --get-active-zonesStep 6: Adding Services to Firewalld Zones
To add services to Firewalld zones, we can use the following command.
# Add services to Firewalld zonesfirewall-cmd --add-service=rtmp
# Remove services from Firewalld zonesfirewall-cmd --zone=public --remove-service=rtmp
# add port to zonefirewall-cmd --zone=public --add-port=80/tcp --permanent
# remove port from zonefirewall-cmd --zone=public --remove-port=80/tcp --permanent
Conclusion
In this tutorial, we learned how to install and setup FireWall on Amazon Linux 2. We also learned how to set up FireWall so that it functions with the Amazon Linux 2.
References
- Firewalld Official Website
- Firewalld Documentation - Introduction to firewalld
- Firewalld Documentation - firewall-cmd
- Amazon EC2 User Guide for Linux Instances
- Security Groups for your VPC - AWS Documentation (Note: AWS Security Groups act as a primary firewall)
- Managing software on your Linux instance - AWS
- Controlling Services with systemctl - Red Hat (Amazon Linux is RHEL-based)
- Using firewalld - Fedora Project Docs
- Understanding Firewalld Zones - DigitalOcean
- AWS - Amazon Linux 2 AMI Information
- iptables Tutorial - Netfilter project (For context, as firewalld is a frontend for netfilter)


