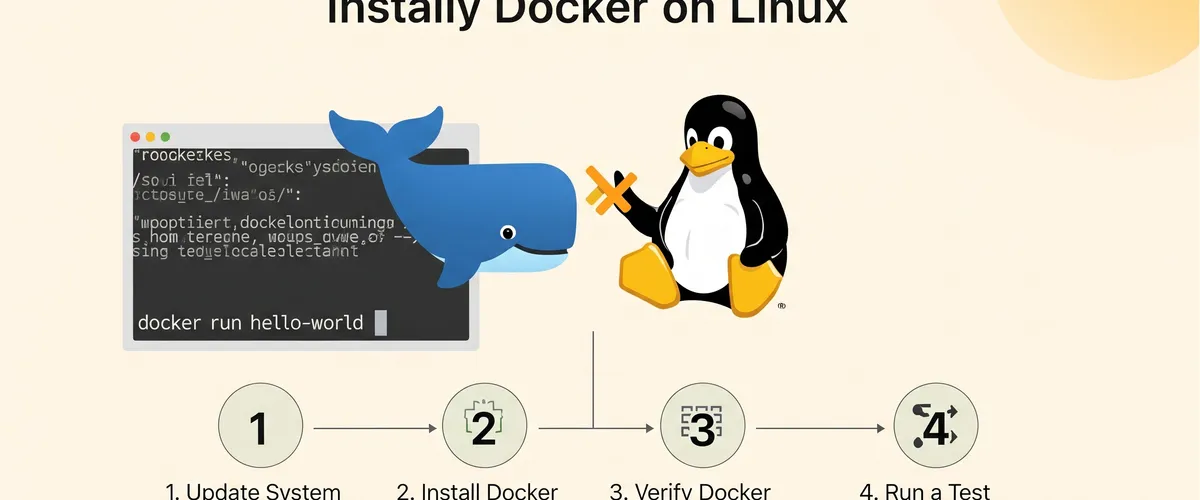
Introduction
Docker is a powerful platform that allows developers to create, deploy, and run applications in containers. Containers are isolated environments that allow you to run your applications in a consistent and reproducible way, no matter what platform or environment you’re using. With Docker, you can easily move your applications from one platform to another, making it a popular choice for developers and DevOps teams alike.
Whether you’re building a new application or need to modernize an existing one, Docker provides a simple and efficient way to manage your applications and infrastructure. In this article, you’ll learn how to install Docker on Linux in just 4 easy steps. By the end, you’ll be up and running with Docker and ready to start using it to create and manage your applications.
Prerequisites
Before you can install Docker on Linux, there are a few prerequisites you need to be aware of. Firstly, you need to have a Linux machine that meets the minimum system requirements for running Docker. Docker requires a 64-bit operating system and a version of the Linux kernel that is 3.10 or later. You can check your Linux version by running the following command in your terminal:
# check your Linux versionuname -rAdditionally, you’ll need to have the appropriate permissions to install software on your Linux machine. If you’re logged in as a regular user, you may need to use sudo to install Docker.
Another important consideration is the type of Linux distribution you’re using. Docker provides native packages for several popular Linux distributions, including Debian, Ubuntu, Fedora, and CentOS. You’ll want to make sure you’re using one of these supported distributions before you start the installation process.
Once you’ve confirmed that your Linux machine meets the prerequisites, you’re ready to move on to the next step and start installing Docker.
Installing Docker
Step 1: Update the Package Index
The first step in installing Docker on Linux is to update the package index. This ensures that you have the most recent version of the Docker packages available and reduces the risk of encountering any compatibility issues.
Here’s how to update the package index on different types of Linux systems:
- Arch-based Linux systems:
# update the package indexsudo pacman -Syy- Debian-based Linux systems:
# Add Docker's official GPG key:sudo apt-get updatesudo apt-get install ca-certificates curlsudo install -m 0755 -d /etc/apt/keyringssudo curl -fsSL https://download.docker.com/linux/ubuntu/gpg -o /etc/apt/keyrings/docker.ascsudo chmod a+r /etc/apt/keyrings/docker.asc
# Add the repository to Apt sources:echo \ "deb [arch=$(dpkg --print-architecture) signed-by=/etc/apt/keyrings/docker.asc] https://download.docker.com/linux/ubuntu \ $(. /etc/os-release && echo "${UBUNTU_CODENAME:-$VERSION_CODENAME}") stable" | \ sudo tee /etc/apt/sources.list.d/docker.list > /dev/null# update the package indexsudo apt-get update- Red Hat-based Linux systems:
# update the package indexsudo yum update- Suse-based Linux systems:
# update the package indexsudo zypper refresh- Fedora-based Linux systems:
# update the package indexsudo dnf updateOnce the package index has been updated, you’re ready to move on to the next step and start installing Docker. It’s a good practice to periodically update your package index, so make sure to check for updates frequently to keep your system up-to-date.
Step 2: Installing Docker on Linux using the package manager
With the package index updated, it’s time to install Docker on your Linux machine. This is done using the package manager for your Linux distribution.
Here’s how to install Docker on different types of Linux systems:
- Arch-based Linux systems:
# install Dockersudo pacman -S docker- Debian-based Linux systems:
# install Dockersudo apt-get install docker-ce docker-ce-cli containerd.io docker-buildx-plugin docker-compose-plugin- Red Hat-based Linux systems:
# install Dockersudo yum install docker- Suse-based Linux systems:
# install Dockersudo zypper install docker- Fedora-based Linux systems:
# install Dockersudo dnf install dockerOnce the installation is complete, you can start using Docker on your Linux machine. However, there are a few more steps you need to take before you can start using Docker.
Specifically, you need to start the Docker service and enable it to start automatically on boot. This ensures that Docker is always running and ready to use. Here’s how to start the Docker service and enable it to start automatically on boot:
# start the Docker servicesudo systemctl start docker
# enable the Docker service to start automatically on bootsudo systemctl enable dockerStep 3: Verifying the Docker installation
Now that Docker is installed and running on your Linux machine, it’s time to verify that the installation was successful. The best way to do this is to run a simple Docker command and see if it returns the expected output.
One of the simplest Docker commands you can run is the docker info command. This command displays system-wide information about your Docker installation, including the number of containers and images, the version of Docker you’re running, and more.
To run the docker info command, open a terminal window and type:
# run the docker info commanddocker infoIf the installation was successful, you should see a lot of information about your Docker installation, similar to the following:
Containers: 0 Running: 0 Paused: 0 Stopped: 0Images: 0Server Version: 19.03.13Storage Driver: overlay2 Operating System: Fedora 33 (Twenty Three) OSType: linux Architecture: x86_64 CPUs: 2 Total Memory: 7.792GiB Name: localhost.localdomain ID: <id>...This confirms that Docker is installed and running on your Linux machine. If you encounter any errors, you may need to check the logs or consult the Docker documentation for further guidance.
With Docker installed and working correctly, you’re ready to start creating and managing your containers. In the next step, you’ll learn how to use Docker to run your first container.
As a security measure, Docker runs as a non-root user by default. This means that you need to add your user to the docker group to be able to run Docker commands. You can do this by running the following command:
# add your user to the docker groupsudo usermod -aG docker $USERStep 4: Running your first Docker container
With Docker installed and verified on your Linux machine, it’s time to start using it to run containers. The easiest way to get started with Docker is to run a simple container, such as a “Hello World” container.
To run your first Docker container, you’ll need to use the docker run command. This command takes a Docker image and creates a new container from that image, running the commands specified in the image’s definition.
Here’s an example of how to run a “Hello World” container:
docker run hello-worldThis command tells Docker to run the hello-world image. If you don’t have the hello-world image on your system, Docker will automatically download it from the Docker Hub, which is a repository of Docker images.
Once the container is running, you should see some output similar to the following:
Hello from Docker!This message shows that your installation appears to be working correctly....This confirms that your first Docker container is up and running. You can use the docker ps command to see a list of all the containers currently running on your system:
docker psWith your first Docker container running, you’re ready to start exploring all that Docker has to offer. You can use Docker to run any type of application, from simple single-container applications to complex multi-container applications, making it a powerful tool for building, deploying, and managing applications.
Conclusion
In this article, you learned how to install Docker on Linux in 4 easy steps. With its powerful containerization technology, Docker makes it easy to run and manage applications on a variety of platforms, including Linux.
By following the steps outlined in this article, you can quickly and easily install Docker on your Linux machine, verifying the installation and running your first container. From there, you can continue to explore the many features and benefits of Docker, using it to run and manage a wide range of applications and services.
Whether you’re a software developer, system administrator, or DevOps engineer, Docker is a must-have tool for anyone looking to improve the efficiency and reliability of their application deployment and management processes. So go ahead and get started with Docker today and see what it can do for you!
References
- Install Docker Engine - Official Docker Documentation
- Install Docker Engine on Ubuntu
- Install Docker Engine on Debian
- Install Docker Engine on Fedora
- Install Docker Engine on CentOS
- Install Docker Engine on Arch Linux (Community Supported)
- Post-installation steps for Linux - Docker Documentation (Covers managing Docker as a non-root user)
- Docker Hub - Official Image Repository
docker runcommand reference - Docker Documentationdocker infocommand reference - Docker Documentationdocker pscommand reference - Docker Documentation- “What is a Container?” - Docker Documentation.), https://www.docker.com/resources/what-container/
- “Get Started with Docker” - Docker Documentation.), https://docs.docker.com/get-started/
- Linux
unamecommand - (Example: man page or tutorial.), https://man7.org/linux/man-pages/man1/uname.1.html - Linux
systemctlcommand - (Example: man page or tutorial.), https://man7.org/linux/man-pages/man1/systemctl.1.html