Introduction
In this post, I will show you how to Create an EC2 Instance on AWS and install Jenkins on it.
Prerequisites
- AWS CLI installed and configured
- IAM user with the following permissions:
- AmazonVPCFullAccess
- AmazonEC2FullAccess
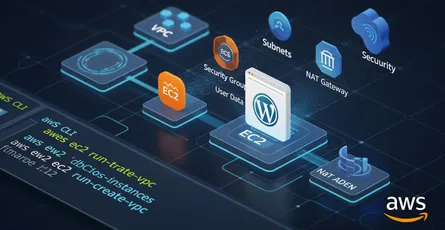
Create a VPC
Step 1: Create a VPC
To create a VPC, run the following command:
# Create a VPCAWS_VPC=$(aws ec2 create-vpc \ --cidr-block 15.0.0.0/16 \ --query 'Vpc.VpcId' \ --output text)
# Add a name tag to the VPCaws ec2 create-tags \ --resources $AWS_VPC \ --tags Key=Name,Value=jenkins-vpcExplanation:
AWS_VPCis a variable that holds the VPC ID.--cidr-blockThe IPv4 network range for the VPC, in CIDR notation.--queryThe JMESPath query that is used to extract data from the output.--outputThe output format of the command.
Step 2: Modify your custom VPC and enable DNS hostname support, and DNS support
To modify your custom VPC and enable DNS hostname support, and DNS support, run the following command:
# Modify your custom VPC and enable DNS hostname support, and DNS support# Enable DNS hostnamesaws ec2 modify-vpc-attribute \ --vpc-id $AWS_VPC \ --enable-dns-hostnames "{\"Value\":true}"
# Enable DNS supportaws ec2 modify-vpc-attribute \ --vpc-id $AWS_VPC \ --enable-dns-support "{\"Value\":true}"Explanation:
--enable-dns-hostnamesIndicates whether the instances launched in the VPC get DNS hostnames.--enable-dns-supportIndicates whether DNS resolution is supported for the VPC.
Step 3: Create a Public Subnet
To create a public subnet, run the following command:
# Create a public subnetAWS_PUBLIC_SUBNET=$(aws ec2 create-subnet \ --vpc-id $AWS_VPC \ --cidr-block 15.0.1.0/24 \ --query 'Subnet.SubnetId' \ --output text)
# Add a name tag to the public subnetaws ec2 create-tags \ --resources $AWS_PUBLIC_SUBNET \ --tags Key=Name,Value=jenkins-public-subnetExplanation:
AWS_PUBLIC_SUBNETis a variable that holds the public subnet ID.--vpc-idThe ID of the VPC.--cidr-blockThe IPv4 network range for the subnet, in CIDR notation.--queryThe JMESPath query that is used to extract data from the output.--outputThe output format of the command.
Step 4: Enable Auto-assign Public IP on the subnet
To enable auto-assign public IP on the subnet, run the following command:
# Enable auto-assign public IP on the subnetaws ec2 modify-subnet-attribute \ --subnet-id $AWS_PUBLIC_SUBNET \ --map-public-ip-on-launchExplanation:
--subnet-idThe ID of the subnet.--map-public-ip-on-launchIndicates whether to assign a public IPv4 address to instances launched in the subnet.
Step 5: Create an Internet Gateway
To create an internet gateway, run the following command:
# Create an internet gatewayAWS_INTERNET_GATEWAY=$(aws ec2 create-internet-gateway \ --query 'InternetGateway.InternetGatewayId' \ --output text)
# Add a name tag to the internet gatewayaws ec2 create-tags \ --resources $AWS_INTERNET_GATEWAY \ --tags Key=Name,Value=jenkins-internet-gatewayExplanation:
AWS_INTERNET_GATEWAYis a variable that holds the internet gateway ID.--queryThe JMESPath query that is used to extract data from the output.--outputThe output format of the command.
Step 6: Attach the Internet Gateway to the VPC
To attach the internet gateway to the VPC, run the following command:
# Attach the internet gateway to the VPCaws ec2 attach-internet-gateway \ --internet-gateway-id $AWS_INTERNET_GATEWAY \ --vpc-id $AWS_VPCExplanation:
--internet-gateway-idThe ID of the internet gateway.--vpc-idThe ID of the VPC.
Step 7: Create a Route Table
To create a route table, run the following command:
# Create a route tableAWS_ROUTE_TABLE=$(aws ec2 create-route-table \ --vpc-id $AWS_VPC \ --query 'RouteTable.RouteTableId' \ --output text)
# Add a name tag to the route tableaws ec2 create-tags \ --resources $AWS_ROUTE_TABLE \ --tags Key=Name,Value=jenkins-route-tableExplanation:
AWS_ROUTE_TABLEis a variable that holds the route table ID.--vpc-idThe ID of the VPC.--queryThe JMESPath query that is used to extract data from the output.--outputThe output format of the command.
Step 8: Create a custom route table association
To create a custom route table association, run the following command:
# Create a custom route table associationaws ec2 associate-route-table \ --subnet-id $AWS_PUBLIC_SUBNET \ --route-table-id $AWS_ROUTE_TABLEExplanation:
--subnet-idThe ID of the subnet.--route-table-idThe ID of the route table.
Step 9: Associate the subnet with route table, making it a public subnet
To associate the subnet with route table, making it a public subnet, run the following command:
# Associate the subnet with route table, making it a public subnetaws ec2 create-route \ --route-table-id $AWS_ROUTE_TABLE \ --destination-cidr-block 0.0.0.0/0 \ --gateway-id $AWS_INTERNET_GATEWAYExplanation:
--route-table-idThe ID of the route table.--destination-cidr-blockThe IPv4 CIDR address block used for the destination match.--gateway-idThe ID of an internet gateway or virtual private gateway attached to your VPC.
Step 10: Create a Security Group
To create a security group, run the following command:
# Create a security groupAWS_SECURITY_GROUP=$(aws ec2 create-security-group \ --group-name aws-security-group \ --description "AWS Security Group" \ --vpc-id $AWS_VPC \ --query 'GroupId' \ --output text)
# Add a name tag to the security groupaws ec2 create-tags \ --resources $AWS_SECURITY_GROUP \ --tags Key=Name,Value=jenkins-security-groupExplanation:
AWS_SECURITY_GROUPis a variable that holds the security group ID.--group-nameThe name of the security group.--descriptionA description for the security group.--vpc-idThe ID of the VPC.--queryThe JMESPath query that is used to extract data from the output.--outputThe output format of the command.
Step 11: Add a rule to the security group
To add a rule to the security group, run the following command:
# Add a rule to the security group
# Add SSH ruleaws ec2 authorize-security-group-ingress \ --group-id $AWS_SECURITY_GROUP \ --protocol tcp \ --port 22 \ --cidr 0.0.0.0/0 \ --output text
# Add HTTP ruleaws ec2 authorize-security-group-ingress \ --group-id $AWS_SECURITY_GROUP \ --protocol tcp \ --port 80 \ --cidr 0.0.0.0/0 \ --output text
# Add HTTPS ruleaws ec2 authorize-security-group-ingress \ --group-id $AWS_SECURITY_GROUP \ --protocol tcp \ --port 443 \ --cidr 0.0.0.0/0 \ --output text
# Add Jenkins ruleaws ec2 authorize-security-group-ingress \ --group-id $AWS_SECURITY_GROUP \ --protocol tcp \ --port 8080-8090 \ --cidr 0.0.0.0/0 \ --output textExplanation:
--group-idThe ID of the security group.--protocolThe IP protocol name or number.--portThe port number or range of port numbers.--cidrThe IPv4 CIDR range.--outputThe output format of the command.
Create an EC2 Instance
Step 1: Get the latest AMI ID
To get the latest AMI ID, run the following command:
# Get the latest AMI IDAWS_AMI=$(aws ec2 describe-images \ --owners 'amazon' \ --filters 'Name=name,Values=amzn2-ami-hvm-2.0.*' \ 'Name=state,Values=available' \ --query 'sort_by(Images, &CreationDate)[-1].[ImageId]' \ --output 'text')Explanation:
AWS_AMIis a variable that holds the AMI ID.--ownersThe AWS account ID of the owner.--filtersThe filters.--queryThe JMESPath query that is used to extract data from the output.--outputThe output format of the command.
Step 2: Create a Key Pair
To create a key pair, run the following command:
# Create a key pairaws ec2 create-key-pair \ --key-name aws-key-pair \ --query 'KeyMaterial' \ --output text > aws-key-pair.pem
# Change the permission of the key pairchmod 400 aws-key-pair.pemExplanation:
--key-nameThe name of the key pair.--queryThe JMESPath query that is used to extract data from the output.--outputThe output format of the command.>The output is redirected to a file.aws-key-pair.pemThe name of the file.chmod 400 aws-key-pair.pemChange the permission of the key pair, so that only the owner can read and write.
Step 3: Create a User Data Script
To create a user data script, run the following command:
# Create a user data scriptcat << EOF > user-data.sh#!/bin/bash
# update the systemsudo yum update -y
# add the jenkins reposudo wget -O /etc/yum.repos.d/jenkins.repo https://pkg.jenkins.io/redhat-stable/jenkins.reposudo rpm --import https://pkg.jenkins.io/redhat-stable/jenkins.io.keysudo yum upgrade
# install javasudo amazon-linux-extras install java-openjdk11 -y
# install jenkinssudo yum install jenkins -y
# start jenkinssudo systemctl start jenkins
# enable jenkinssudo systemctl enable jenkins
# install gitsudo yum install git -yEOFExplanation:
cat << EOF > user-data.shThe output is redirected to a file.user-data.shThe name of the file.#!/bin/bashThe shebang line.sudo yum update -yUpdate the system.sudo wget -O /etc/yum.repos.d/jenkins.repo https://pkg.jenkins.io/redhat-stable/jenkins.repoAdd the Jenkins repo.sudo rpm --import https://pkg.jenkins.io/redhat-stable/jenkins.io.keyImport the Jenkins repo key.sudo yum upgradeUpgrade the system.sudo amazon-linux-extras install java-openjdk11 -yInstall Java.sudo yum install jenkins -yInstall Jenkins.sudo systemctl start jenkinsStart Jenkins.sudo systemctl enable jenkinsEnable Jenkins.
Step 4: Create an EC2 Instance
To create an EC2 instance, run the following command:
# Create an EC2 instanceAWS_INSTANCE=$(aws ec2 run-instances \--image-id $AWS_AMI \--instance-type t2.micro \--key-name aws-key-pair \--monitoring "Enabled=false" \--security-group-ids $AWS_SECURITY_GROUP \--subnet-id $AWS_PUBLIC_SUBNET \--user-data file://user-data.sh \--query 'Instances[0].InstanceId' \--output text)
# add a name tag to the instanceaws ec2 create-tags \ --resources $AWS_INSTANCE \ --tags Key=Name,Value=jenkins-serverExplanation:
AWS_INSTANCEis a variable that holds the instance ID.--image-idThe ID of the AMI.--instance-typeThe instance type.--key-nameThe name of the key pair.--monitoringThe monitoring for the instance.--security-group-idsThe IDs of the security groups.--subnet-idThe ID of the subnet.--user-dataThe user data to provide when launching the instance.--queryThe JMESPath query that is used to extract data from the output.--outputThe output format of the command.
Step 5: Create an Elastic IP
To create an Elastic IP, run the following command:
# Create an Elastic IPAWS_ELASTIC_IP=$(aws ec2 allocate-address \ --domain vpc \ --query 'AllocationId' \ --output text)
# add a name tag to the Elastic IPaws ec2 create-tags \ --resources $AWS_ELASTIC_IP \ --tags Key=Name,Value=jenkins-server-elastic-ipExplanation:
AWS_ELASTIC_IPis a variable that holds the Elastic IP ID.--domainThe domain name.--queryThe JMESPath query that is used to extract data from the output.--outputThe output format of the command.
Step 6: Associate the Elastic IP with the EC2 Instance
To associate the Elastic IP with the EC2 instance, run the following command:
# Associate the Elastic IP with the EC2 instanceaws ec2 associate-address \ --allocation-id $AWS_ELASTIC_IP \ --instance-id $AWS_INSTANCEExplanation:
--allocation-idThe allocation ID.--instance-idThe ID of the instance.
Connect to the Jenkins Server, and Setup Jenkins
Step 1: Connect to the Jenkins Server
To connect to the Jenkins server, run the following command:
# Get the public IP address of the Jenkins serverAWS_PUBLIC_IP=$(aws ec2 describe-instances \ --instance-ids $AWS_INSTANCE \ --query 'Reservations[0].Instances[0].PublicIpAddress' \ --output text)
# Connect to the Jenkins serverssh -i aws-key-pair.pem ec2-user@$AWS_PUBLIC_IPExplanation:
AWS_PUBLIC_IPis a variable that holds the public IP address of the Jenkins server.ssh -i aws-key-pair.pem ec2-user@$AWS_PUBLIC_IPConnect to the Jenkins server.
Step 2: Setup Jenkins
To setup Jenkins, run the following command:
# Get the initial admin passwordsudo cat /var/lib/jenkins/secrets/initialAdminPasswordExplanation:
sudo cat /var/lib/jenkins/secrets/initialAdminPasswordGet the initial admin password.
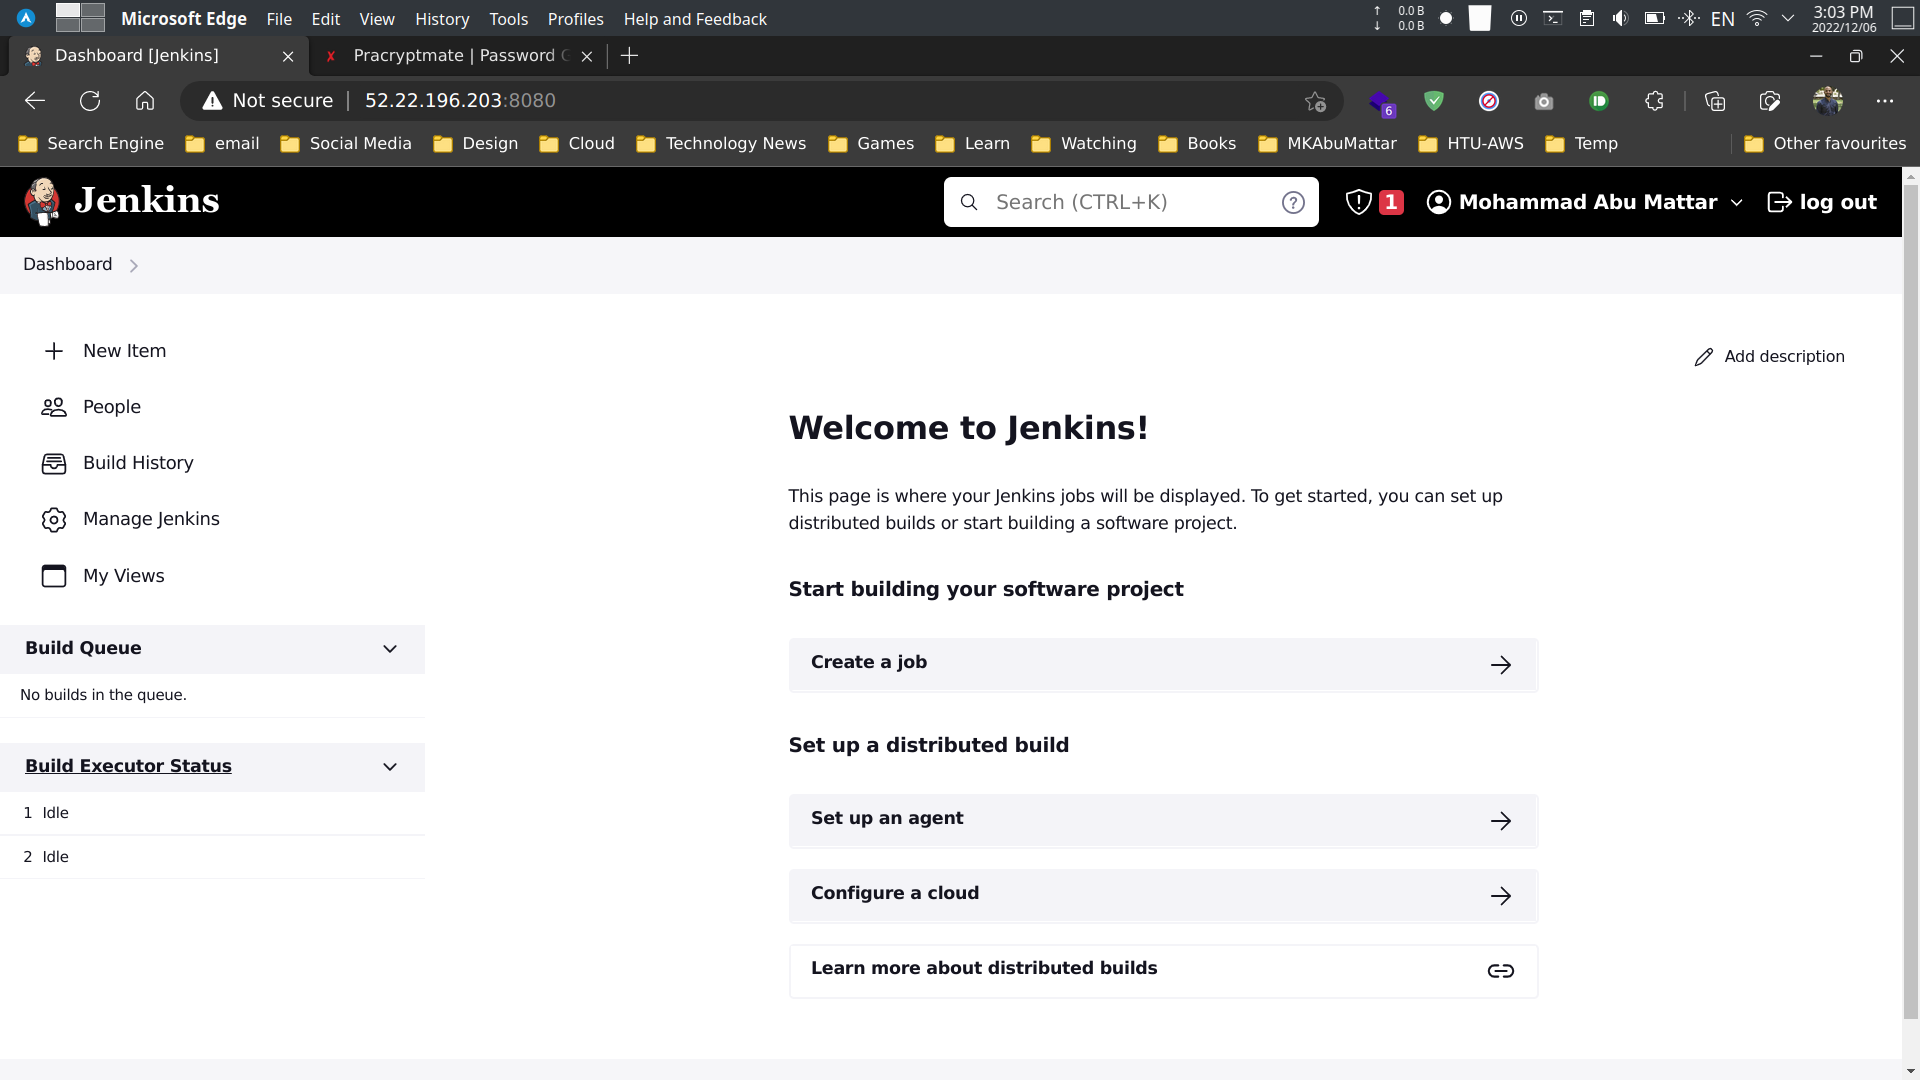
Step 3: Configuring Jenkins
To configure Jenkins:
- Go to
http://<public-ip-address>:8080/.

- Enter the initial admin password.

- Select the recommended plugins.
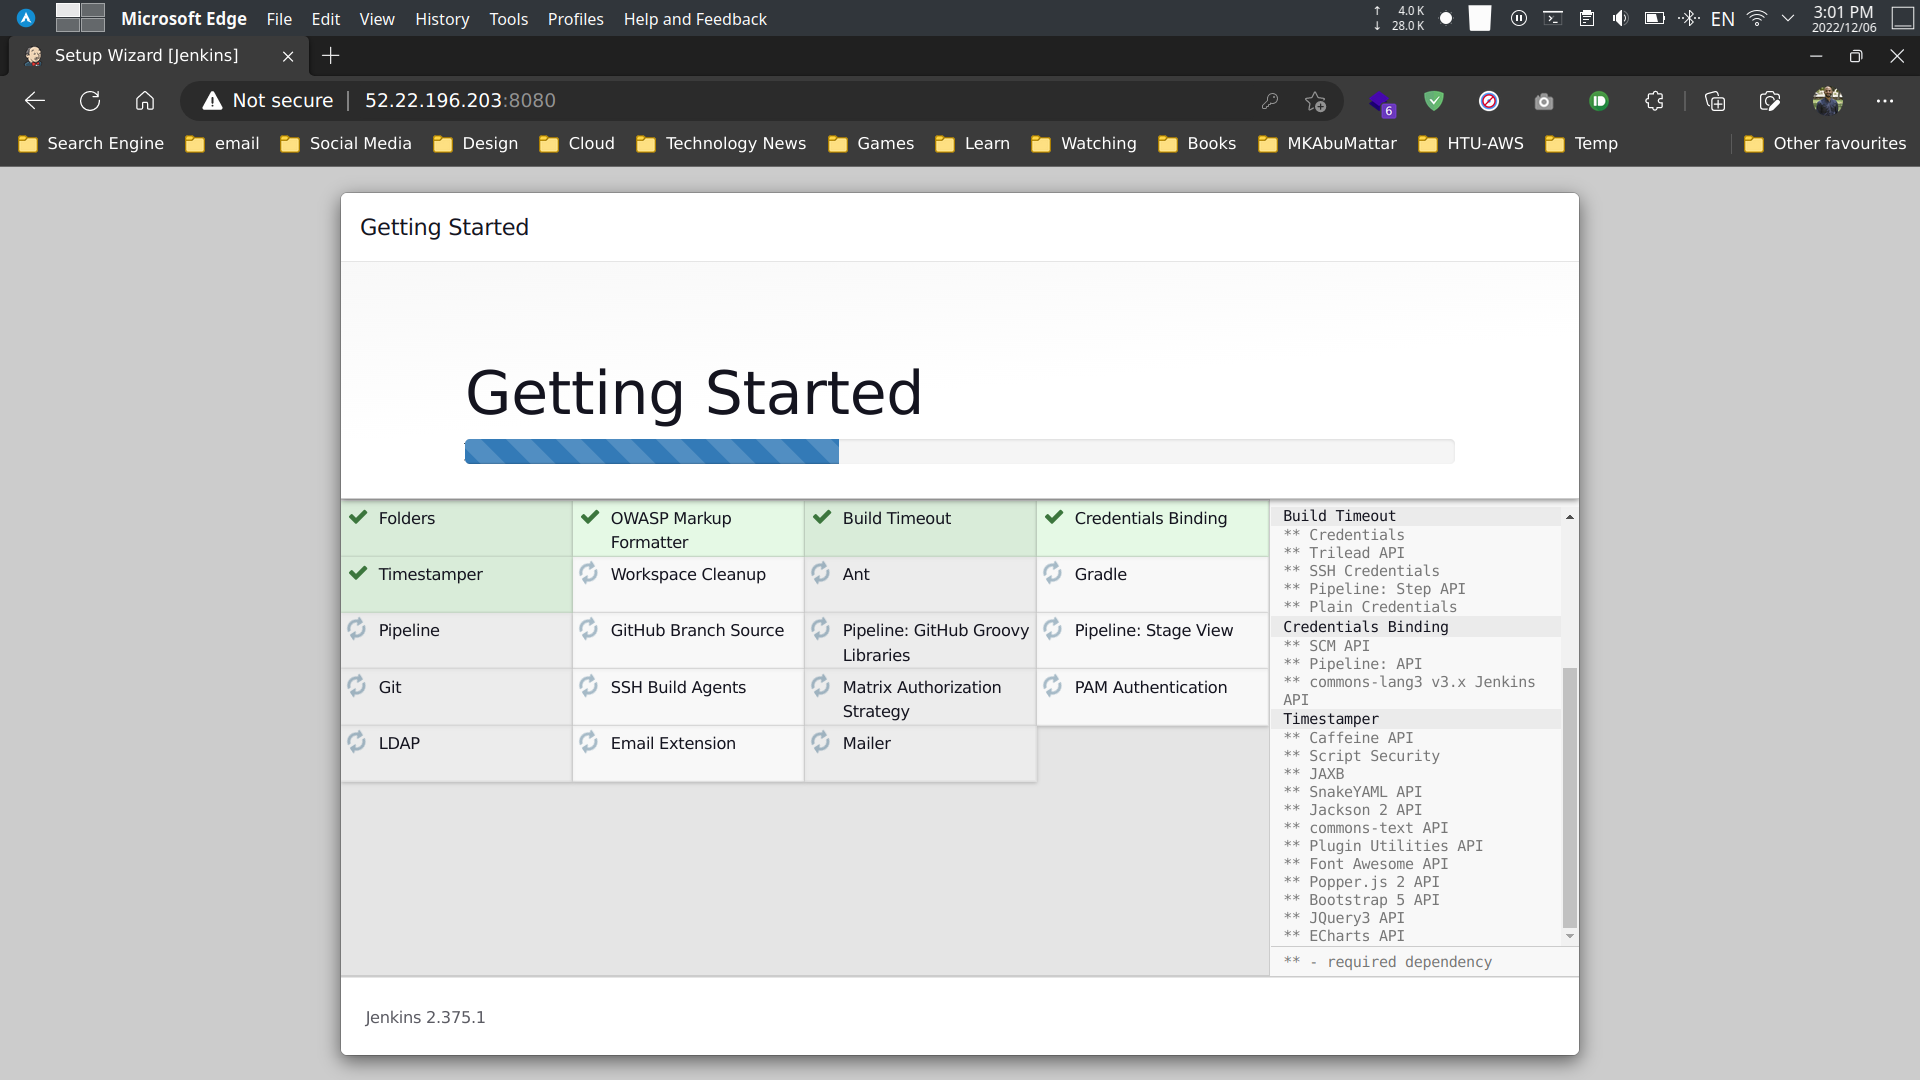
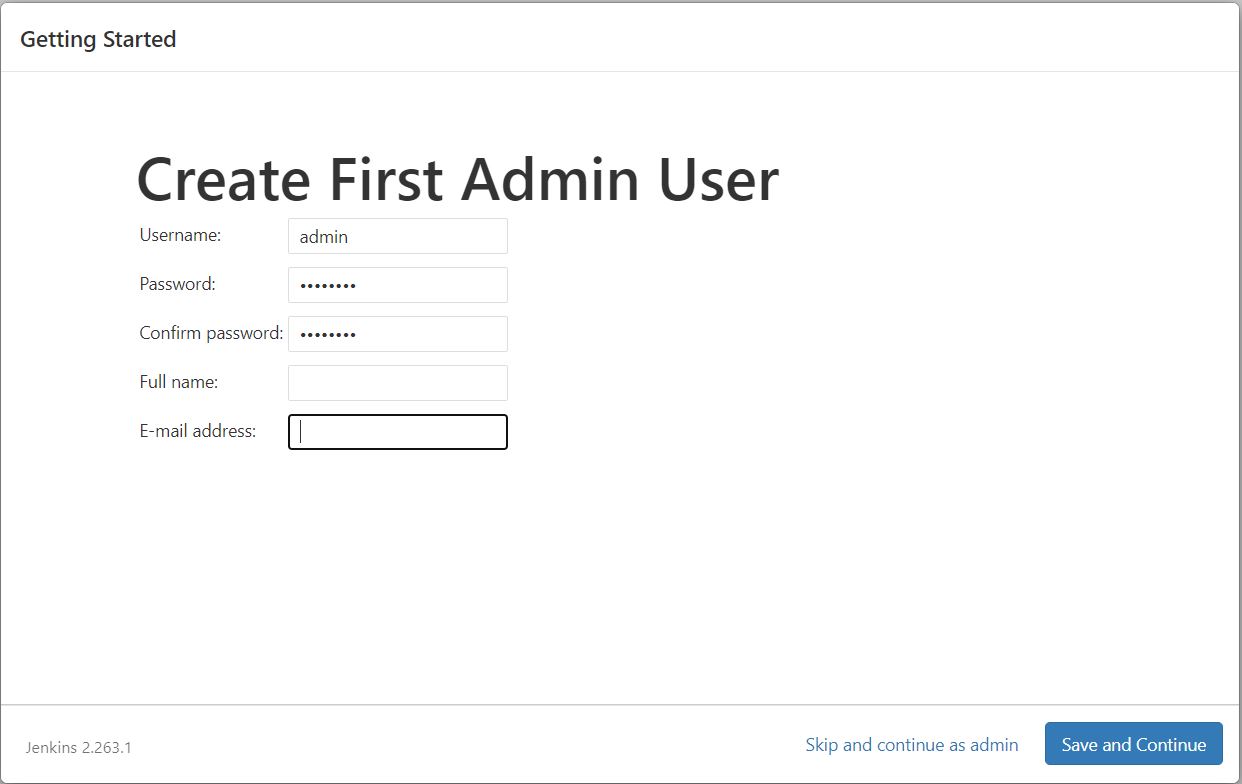
- Create the first admin user.
- Jenkins is ready.
Conclusion
In this tutorial, you learned how to install Jenkins on an AWS EC2 instance.
References
- Jenkins Official Website
- Jenkins User Documentation
- Installing Jenkins on Linux
- AWS Command Line Interface (CLI) User Guide
- Amazon EC2 User Guide for Linux Instances
- Amazon VPC User Guide
- AWS Identity and Access Management (IAM) User Guide
- AWS Key Pairs and Amazon EC2 Instances
- Security Groups for your VPC - Amazon VPC
- User data and shell scripts for EC2 instances
- Elastic IP addresses - Amazon EC2
- Connect to your Linux instance using SSH - Amazon EC2
- Managing Jenkins Plugins
- Getting started with Jenkins