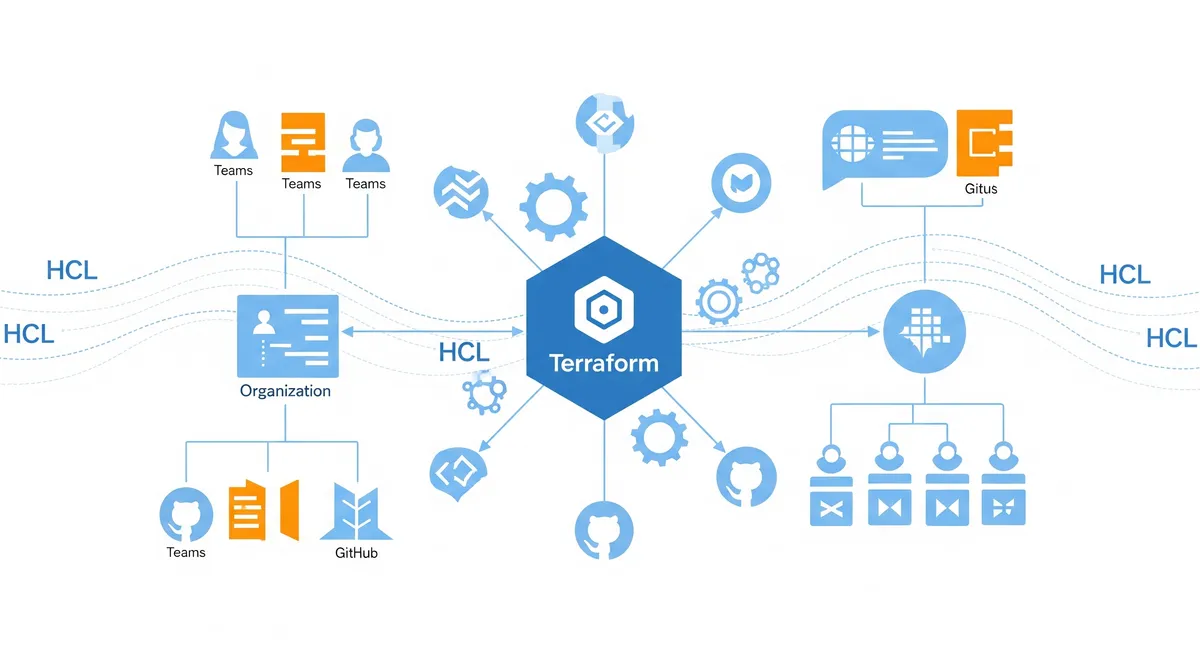
Managing a GitHub organization manually can become increasingly complex as teams grow and projects multiply. For DevOps and DevSecOps engineers, automation is key to maintaining consistency and reducing human error. That’s where Terraform, a popular Infrastructure as Code (IaC) tool, comes into play. By leveraging Terraform, you can automate and streamline the management of your GitHub organization, from user access to team structures and repository configurations. This article explores how Terraform simplifies GitHub organization management, with real-world examples to illustrate its power.
What Is Terraform and Why Use It for GitHub Organization Management?
Terraform is an open-source IaC tool that allows you to define and manage infrastructure in a declarative configuration language. Traditionally used for cloud resources like AWS or Azure, Terraform also has providers for various platforms, including GitHub. By using the GitHub provider, you can automate the management of:
- Repositories
- Teams
- Team memberships
- User permissions
This approach aligns with DevOps principles by ensuring that infrastructure configurations, including your GitHub organization setup, are version-controlled, auditable, and reproducible.
Why Automate GitHub Organization Management?
Automation reduces manual intervention, which:
- Ensures consistency across environments
- Improves security and compliance
- Minimizes the risk of human error
- Speeds up onboarding and offboarding processes
By automating these tasks, you free up time for more strategic activities.
Key Terraform Resources for GitHub Management
Let’s dive into some of the critical Terraform resources for managing a GitHub organization, along with detailed scenarios and examples.
1. github_membership: Managing Organization Members
This resource manages whether a user is a member or an owner of a GitHub organization. It’s useful for automating user onboarding and ensuring appropriate access levels.
Scenario: Automating Onboarding for New Engineers
Your team has onboarded a new engineer, Jane, who needs access to the organization as a member. Traditionally, you would manually add her, but Terraform can automate this process:
resource "github_membership" "jane_membership" { username = "jane-doe" role = "member"}By applying this configuration, Jane is added as a member, ensuring consistency and saving time.
2. github_team_membership: Assigning Users to Teams
This resource allows you to manage which users belong to specific teams within your organization.
Scenario: Adding Developers to Specialized Teams
Jane needs to be added to the backend-team. Here’s how you can achieve this with Terraform:
resource "github_team" "backend_team" { name = "backend-team" description = "Team responsible for backend services."}
resource "github_team_membership" "jane_backend" { team_id = github_team.backend_team.id username = "jane-doe" role = "member"}This ensures that Jane gains immediate access to the repositories and workflows tied to the backend team.
3. github_repository: Creating and Configuring Repositories
This resource manages the creation and configuration of GitHub repositories.
Scenario: Launching a New Microservice
Your team is tasked with developing a new microservice called order-service. With Terraform, you can automate repository creation:
resource "github_repository" "order_service" { name = "order-service" description = "Handles order processing and management." visibility = "private"}This configuration ensures consistent repository settings and reduces setup time.
4. github_team_repository: Managing Team Access to Repositories
This resource links teams to repositories and defines their access levels.
Scenario: Granting Backend Team Access to the Order Service Repository
To give the backend team access to the order-service repository, use the following configuration:
resource "github_team_repository" "backend_order_access" { team_id = github_team.backend_team.id repository = github_repository.order_service.name permission = "push"}This ensures that the backend team has the necessary permissions to contribute to the repository.
5. github_branch_protection: Enforcing Branch Protection Rules
This resource manages branch protection rules to enforce policies on specific branches.
Scenario: Enforcing Branch Protection on the Main Branch
To protect the main branch of the order-service repository, you can configure branch protection as follows:
resource "github_branch_protection" "main_branch_protection" { repository_id = github_repository.order_service.name pattern = "main"
required_status_checks { strict = true contexts = ["ci/circleci"] }
enforce_admins = true required_pull_request_reviews { dismiss_stale_reviews = true require_code_owner_reviews = true required_approving_review_count = 2 }}This ensures that changes to the main branch undergo rigorous review before being merged.
Using GitHub PRs and the CODEOWNERS Feature for an Approval Flow
Enhance your GitHub management workflow by combining the Pull Request (PR) process with the CODEOWNERS file. The CODEOWNERS file specifies which team members must approve changes to specific parts of a repository.
Scenario: Requiring Backend Team Approval for Critical Code
Define a CODEOWNERS file to require backend team approval for changes in the src/backend/ directory:
# CODEOWNERS filesrc/backend/ @backend-teamThis setup ensures that any changes to the src/backend/ directory are automatically flagged for review by the @backend-team, enhancing code quality and security.
How to Get Started with Terraform for GitHub
Step 1: Install Terraform
First, you need to install Terraform on your machine. You can download it from the official Terraform website. Follow the installation instructions for your operating system.
Step 2: Configure the GitHub Provider
Next, you need to configure the GitHub provider. Create a new directory for your Terraform configuration files and navigate to it. Then, create a main.tf file and add the following configuration:
provider "github" { token = "your_github_token"}Replace "your_github_token" with a personal access token from GitHub. You can generate a token by going to your GitHub account settings, navigating to “Developer settings” > “Personal access tokens,” and creating a new token with the necessary scopes (e.g., repo, admin:org).
Step 3: Define Your Resources
Write your Terraform configurations using the resources covered in this article. For example, to manage organization members, teams, and repositories, you can add the following configurations to your main.tf file:
resource "github_membership" "jane_membership" { username = "jane-doe" role = "member"}
resource "github_team" "backend_team" { name = "backend-team" description = "Team responsible for backend services."}
resource "github_team_membership" "jane_backend" { team_id = github_team.backend_team.id username = "jane-doe" role = "member"}
resource "github_repository" "order_service" { name = "order-service" description = "Handles order processing and management." visibility = "private"}
resource "github_team_repository" "backend_order_access" { team_id = github_team.backend_team.id repository = github_repository.order_service.name permission = "push"}
resource "github_branch_protection" "main_branch_protection" { repository_id = github_repository.order_service.name pattern = "main"
required_status_checks { strict = true contexts = ["ci/circleci"] }
enforce_admins = true required_pull_request_reviews { dismiss_stale_reviews = true require_code_owner_reviews = true required_approving_review_count = 2 }}Step 4: Initialize Terraform
Before applying your configuration, you need to initialize Terraform. This step downloads the necessary provider plugins and prepares your working directory:
terraform initStep 5: Plan and Apply the Configuration
Run the following commands to see a preview of the changes Terraform will make and then apply those changes:
terraform planterraform applyThe plan command shows you the actions Terraform will take without making any changes. The apply command applies the changes to your GitHub organization.
Step 6: Verify the Changes
After applying the configuration, verify that the changes have been made in your GitHub organization. Check that the new members, teams, repositories, and branch protection rules have been created as expected.
Step 7: Manage State
Terraform keeps track of your infrastructure’s state in a file called terraform.tfstate. This file is crucial for managing your resources. Make sure to store it securely and consider using a remote backend (e.g., AWS S3, Terraform Cloud) for better collaboration and state management.
Step 8: Update and Destroy Resources
To update your resources, modify your .tf files and run terraform plan and terraform apply again. To destroy the resources managed by Terraform, run:
terraform destroyThis command removes all the resources defined in your configuration.
By following these steps, you can efficiently manage your GitHub organization using Terraform, ensuring consistency, security, and scalability.
Pros and Cons of Using Terraform for GitHub Management
Pros:
- Automation: Saves time and ensures consistency.
- Version Control: Tracks changes to your GitHub organization setup.
- Scalability: Easily manage large organizations with multiple teams and repositories.
- Security: Reduces human error and enforces compliance.
Cons:
- Learning Curve: Requires knowledge of Terraform and HCL.
- Initial Setup Effort: Setting up configurations can take time.
- Limited Real-Time Feedback: Debugging issues can be slower than manual updates.
Conclusion
Using Terraform to manage your GitHub organization is a smart move for DevOps and DevSecOps engineers aiming to streamline workflows, enhance security, and ensure consistency. Whether you’re managing team memberships, repository settings, or user roles, Terraform provides a scalable and auditable solution.
By adopting Infrastructure as Code for GitHub management, you align your practices with modern DevOps principles, setting the stage for smoother, more efficient operations.
References
- Terraform GitHub Provider Documentation.), https://registry.terraform.io/providers/integrations/github/latest/docs
- Managing GitHub with Terraform - HashiCorp Learn.), https://learn.hashicorp.com/tutorials/terraform/github-actions (Note: While this link mentions GitHub Actions, HashiCorp Learn often has broader GitHub management tutorials.)
- Official Terraform Documentation.), https://www.terraform.io/docs/index.html
- GitHub Help: Managing organization security.), https://docs.github.com/en/organizations/keeping-your-organization-secure
- GitHub Help: About CODEOWNERS.), https://docs.github.com/en/repositories/managing-your-repositorys-settings-and-features/customizing-your-repository/about-code-owners
- Infrastructure as Code: A Guide by HashiCorp.), https://www.hashicorp.com/resources/what-is-infrastructure-as-code
- Automating GitHub Organization Management with Terraform - (Example: Blog post from a reputable tech blog like Medium, DEV.to, or a company blog.), [Link to a relevant blog post]
- Terraform Best Practices for GitHub Management - (Example: Community forums or best practice guides.), [Link to a relevant guide]
github_membershipresource - Terraform Registry.), https://registry.terraform.io/providers/integrations/github/latest/docs/resources/membershipgithub_team_repositoryresource - Terraform Registry.), https://registry.terraform.io/providers/integrations/github/latest/docs/resources/team_repositorygithub_branch_protectionresource - Terraform Registry.), https://registry.terraform.io/providers/integrations/github/latest/docs/resources/branch_protection- Using Terraform to Manage GitHub Teams and Permissions - (Example: Another relevant tutorial or blog post.), [Link to a relevant resource]
