Introduction
Docker is a powerful tool that allows developers to create, deploy, and run applications in a portable and scalable way. It uses containerization to encapsulate all the dependencies and configurations required for an application, ensuring it runs consistently and predictably on any system.
React JS, on the other hand, is a JavaScript library for building user interfaces. It provides a powerful and efficient way to create dynamic, responsive, and interactive applications. React JS is an essential tool for modern web development, and it’s used by many companies worldwide.
In this guide, we’ll explore how to use Docker to build, run, and deploy a React JS application. We’ll start by setting up our environment and installing Docker, and then move on to creating a Dockerfile to build our application. We’ll also learn how to containerize the application and deploy it to a production environment using Docker.
By the end of this guide, you’ll have a solid understanding of how to use Docker to manage a React JS application, making it easier to develop, deploy, and maintain.
Prerequisites
Before getting started with building React JS and Docker, there are a few prerequisites you need to have in place.
- Basic Knowledge of React JS
To follow along with this guide, you should have a basic understanding of React JS. If you’re new to React, we recommend completing a beginner-level course to get familiar with the library. Or you can follow our Building a Customizable Image Slider in React Using Hooks, SCSS, and TypeScript guide to learn how to build a React JS application from scratch.
- A Code Editor
You’ll need a code editor to create and edit the React JS application files. There are many options available, such as Visual Studio Code, Sublime Text, and Atom. Visual Studio Code Cheatsheet is a great resource to get started with Visual Studio Code.
- Docker Installed on Your System
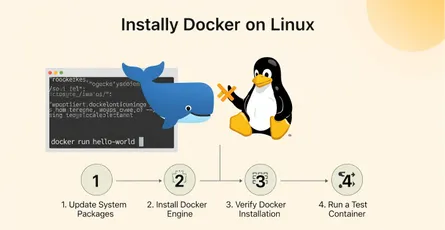
To use Docker, you’ll need to have it installed on your system. Docker is compatible with most operating systems, including Windows, macOS, and Linux. You can follow our previous article on installing Docker for Linux distros to get started. Or you can follow the How To Install Docker On Linux In 4 Easy Steps! guide to install Docker on Linux.
- A Terminal or Command Prompt
Docker is primarily used through the command line interface (CLI). Therefore, you’ll need a terminal or command prompt to execute Docker commands. If you’re using Windows, you can use PowerShell or Command Prompt. For macOS and Linux, you can use the built-in terminal.
- A Github Account (Optional)
To share your React JS and Docker project with the community, you can use Github to host your code. Github is a popular platform for hosting open-source projects, and it provides a simple way to collaborate with others.
By ensuring you have these prerequisites in place, you’ll be well-prepared to follow along with this guide and start building your React JS application with Docker.
Preparing Your Environment for Docker
To start building a React JS application with Docker, you need to prepare your environment. This involves ensuring your system meets Docker’s requirements, installing Docker on your operating system, and configuring Docker to work with React JS.
- System Requirements
Before installing Docker, you need to make sure your system meets its requirements. Docker requires a 64-bit version of your operating system and a processor with virtualization support. It’s also recommended to have at least 4GB of RAM and 20GB of disk space.
- Installing Docker
Once you’ve verified your system meets the requirements, you can install Docker. Docker provides installation guides for most operating systems on their website. You can follow the guide for your operating system to get started.
- Configuring Docker for React JS
After installing Docker, you need to configure it to work with React JS. You can do this by creating a Dockerfile, which is a configuration file that defines the environment and settings for your application. You can use a pre-built Docker image that includes Node.js, the runtime environment for React JS, or you can build your own Docker image.
- Using a Pre-Built Docker Image
If you prefer to use a pre-built Docker image, you can use the official Node.js image provided by Docker. This image includes Node.js and other necessary dependencies for running React JS. You can specify the Node.js version in the Dockerfile to ensure your application runs on the desired version.
- Building Your Own Docker Image
If you want more control over the environment and dependencies for your React JS application, you can build your own Docker image. You can start with a base image, such as the official Node.js image, and add the necessary dependencies and configurations for your application.
By preparing your environment for Docker, you’ll be able to create a stable and efficient environment for building, running, and deploying your React JS application.
Building a React JS Application with Docker
Now that we have our environment prepared, we can start building our React JS application with Docker. In this section, we’ll walk through the steps for building a React JS application using a Dockerfile and containerizing the application.
- Creating a Dockerfile
The first step in building our application with Docker is to create a Dockerfile. The Dockerfile defines the environment and settings for our application. We can use a pre-built Node.js image, as we mentioned earlier, or we can build our own image. In our case, we’ll use the official Node.js image.
Here’s an example of a Dockerfile for a React JS application:
# Use an official Node.js runtime as a parent imageFROM node:18.14.0
# Set the working directoryWORKDIR /app
# Set the environment variablesEXPOSE 3030
# Copy the package.json and package-lock.json files to the working directoryCOPY package*.json ./
# Install dependenciesRUN npm install
# Install serve globallyRUN npm install serve -g
# Copy the remaining application files to the working directoryCOPY . .
# Build the applicationRUN npm run build
# Set the command to dev the applicationCMD [ "npm", "run", "serve" ]This Dockerfile uses the Node.js 18 image as a parent image, sets the working directory, copies the necessary files, installs dependencies, builds the application, and sets the command to start the application.
- Building the Docker Image
Once we have our Dockerfile, we can build the Docker image by running the following command in the terminal:
docker build -t react-slider .
This command builds the Docker image using the Dockerfile in the current directory and tags it with the name react-slider. The period at the end specifies that the build context is the current directory.
- Running the Docker Container
After building the Docker image, we can run the Docker container using the following command:
docker run -p 3030:3030 -d react-sliderThis command starts a new Docker container and maps port 3030 of the container to port 3030 of the host system. The react-slider argument specifies the name of the Docker image we want to use.
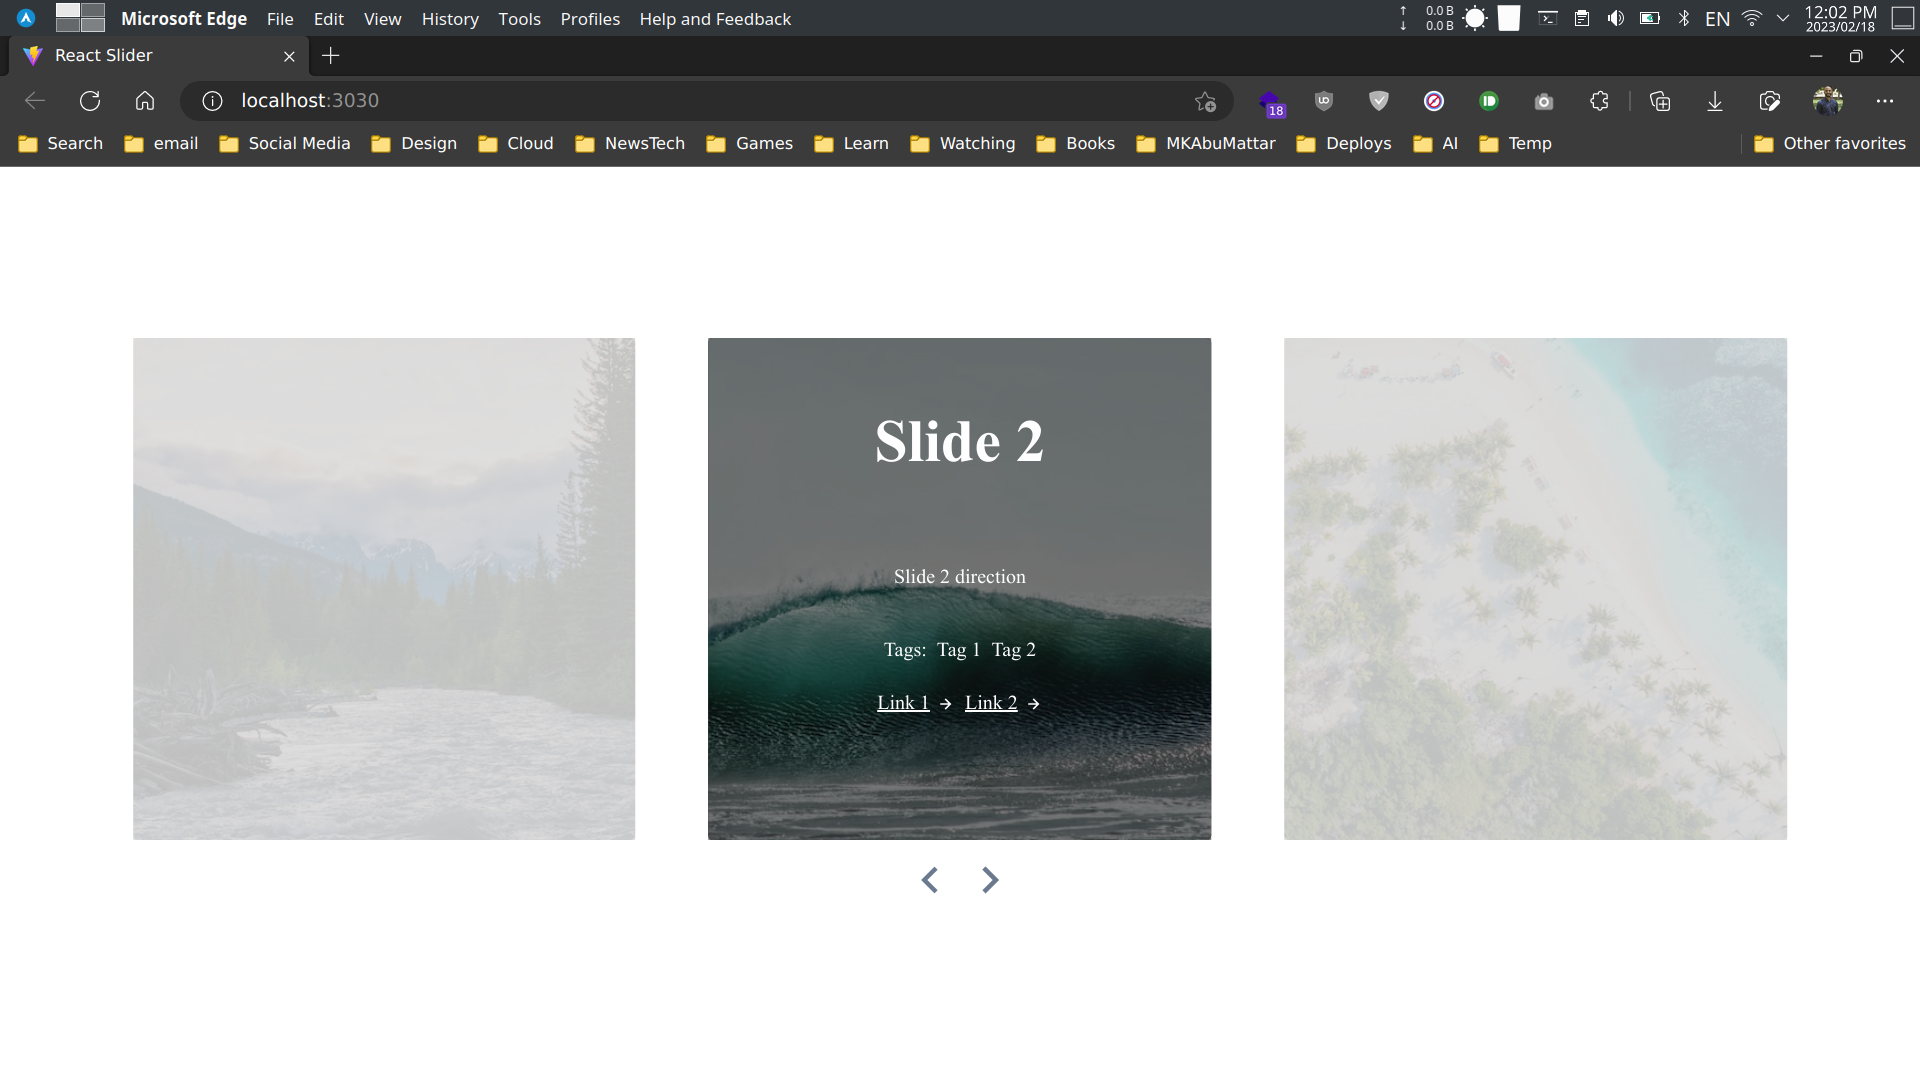
- Accessing the React JS Application
Once the Docker container is running, we can access the React JS application in the browser by navigating to http://localhost:3030. This is the default port for React JS applications, and we specified it in the Dockerfile.
By following these steps, we’ve successfully built a React JS application with Docker, making it easy to develop, run, and deploy the application in a consistent and scalable way.
Running a React JS Application with Docker Composer
In this section, we’ll explore how to run a React JS application with Docker Composer. Docker Composer is a tool for defining and running multi-container Docker applications. It allows us to define a set of services, each with its own container, and run them with a single command.
- Creating a Docker Composer File
To run our React JS application with Docker Composer, we need to create a Docker Composer file. This file defines the services for our application, including the React JS application and the database. Here’s an example of a Docker Composer file for a React JS application:
version: '3.7'
services: app: build: context: . dockerfile: Dockerfile ports: - '3030:3030' volumes: - .:/appThis Docker Composer file defines a single service, called app, which builds the Docker image using the Dockerfile in the current directory and maps port 3030 of the container to port 3030 of the host system.
- Running the Docker Composer File
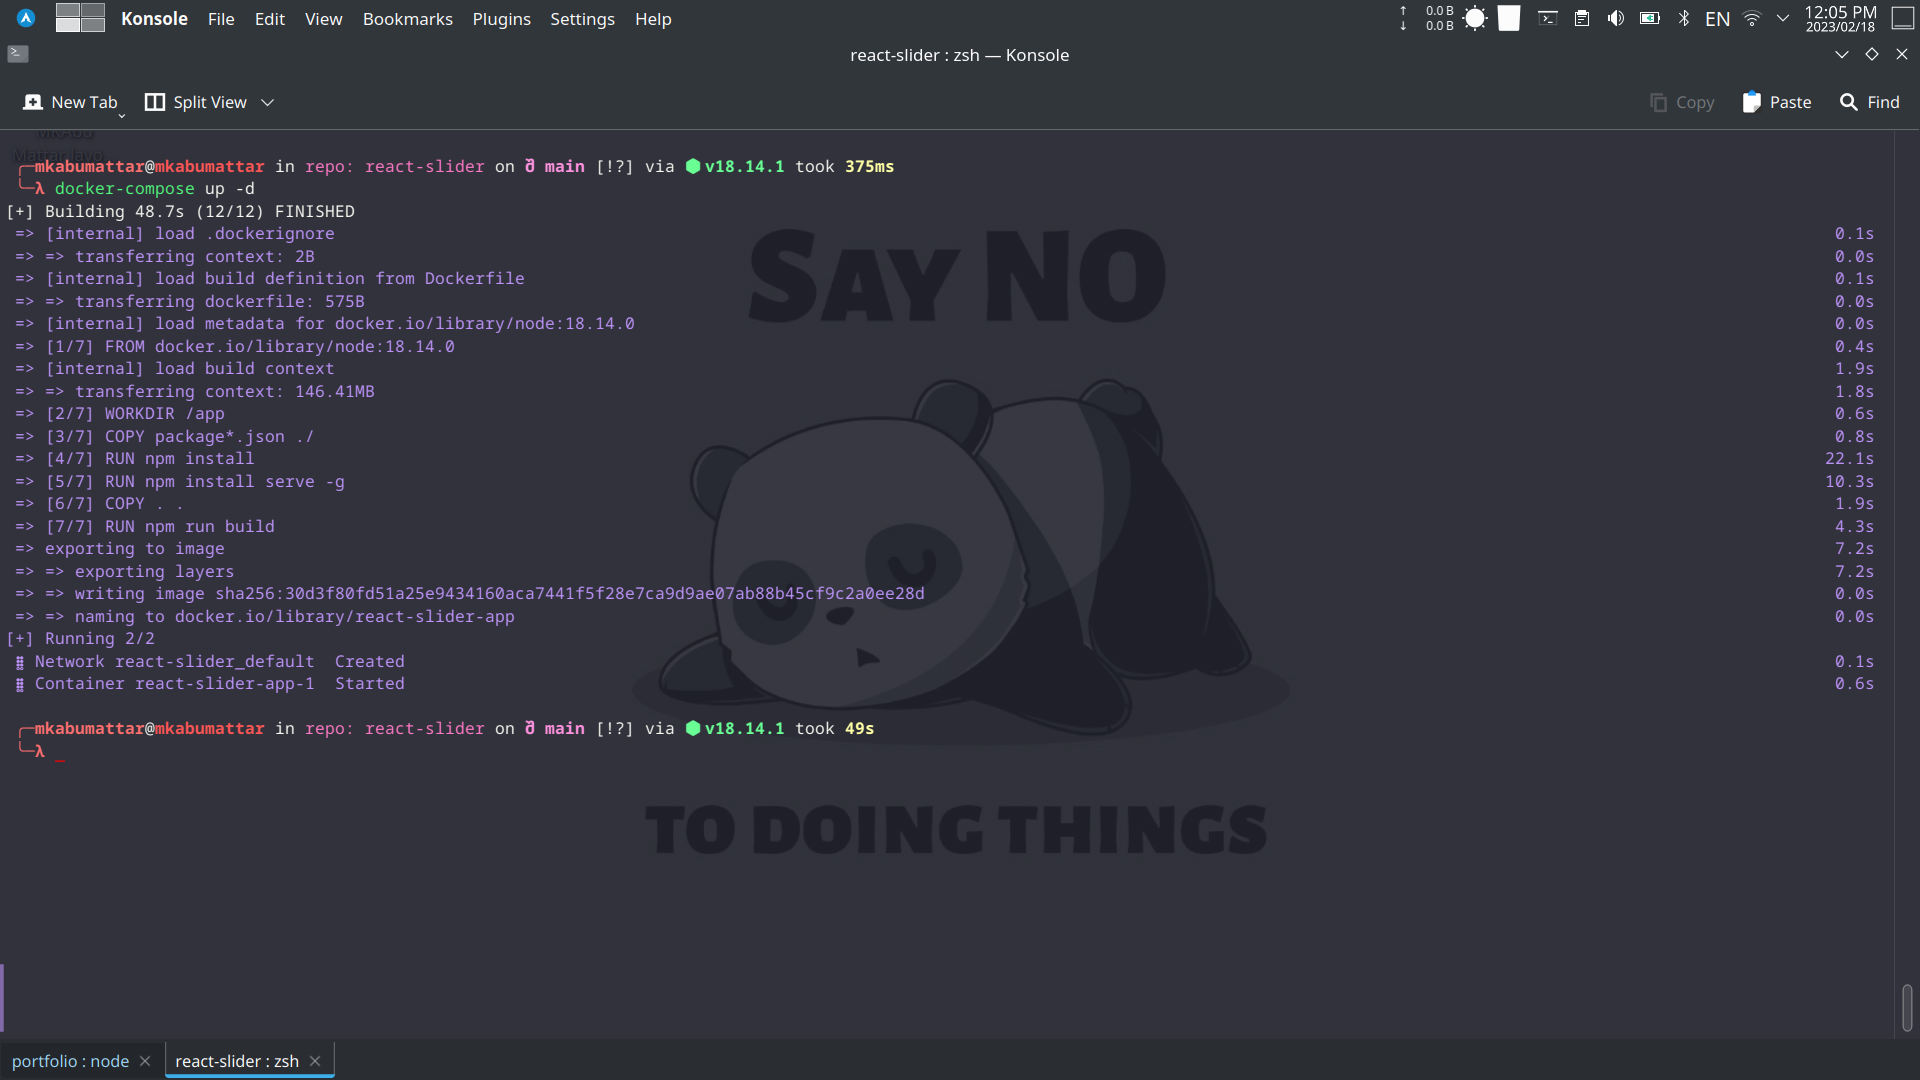
Once we have our Docker Composer file, we can run the Docker Composer file using the following command:
docker-compose up -dThis command starts the Docker containers for the services defined in the Docker Composer file. We can access the React JS application in the browser by navigating to http://localhost:3030.
By following these steps, we’ve successfully run a React JS application with Docker Composer, making it easy to develop, run, and deploy the application in a consistent and scalable way.

- Stopping the Docker Composer File
Once we’re done with the React JS application, we can stop the Docker Composer file using the following command:
docker-compose down -vThis command stops the Docker containers for the services defined in the Docker Composer file.
Containerizing the React JS Application
In this section, we’ll explore how to containerize a React JS application with Docker, making it easy to deploy and scale the application in any environment.
- Understanding Containerization
Containerization is the process of encapsulating an application and its dependencies in a self-contained environment, called a container. Containers are similar to virtual machines, but they are more lightweight and share the host operating system’s kernel. This makes containers faster and more efficient than traditional virtual machines.
- Creating a Dockerfile
To containerize our React JS application, we need to create a Dockerfile that includes all the necessary dependencies and configurations. We can use the same Dockerfile we created earlier, or we can create a new one.
- Building the Docker Image
Once we have our Dockerfile, we can build the Docker image using the “docker build” command. The resulting image includes all the necessary dependencies and configurations for running our React JS application in a container.
- Running the Docker Container
After building the Docker image, we can run the Docker container using the “docker run” command. This command starts a new container based on the image we just built.
- Publishing the Docker Image
To make the containerized React JS application available to others, we can publish the Docker image to a registry, such as Docker Hub. This allows others to download and run the application in a container.
- Deploying the Containerized Application
Finally, we can deploy the containerized React JS application to any environment that supports Docker, such as a local machine, a cloud provider, or a Kubernetes cluster. This makes it easy to scale the application as needed and ensures consistent behavior across different environments.
By containerizing our React JS application with Docker, we can simplify the deployment process and make it easier to scale the application in any environment. This approach also ensures that the application is running in a consistent and predictable environment, which reduces the risk of unexpected issues and bugs.
Troubleshooting and Best Practices
In this section, we’ll explore some common issues and best practices when working with React JS and Docker.
- Troubleshooting
When working with React JS and Docker, there are a few common issues that you may encounter, such as:
- Incorrect port mapping: Make sure that the container is mapped to the correct port to access the React JS application.
- Missing dependencies: Ensure that all the necessary dependencies are included in the Docker image and that they are correctly installed and configured.
- Performance issues: If the application is running slowly or experiencing performance issues, consider scaling the application or optimizing the Docker image.
- Best Practices
To get the most out of React JS and Docker, it’s important to follow some best practices, such as:
- Keep Docker images small: Minimize the size of the Docker image by removing unnecessary dependencies and configurations.
- Use a .dockerignore file: Exclude unnecessary files and directories from the Docker image using a .dockerignore file to speed up the build process.
- Use environment variables: Use environment variables to store configuration settings and sensitive data, such as API keys and database credentials.
- Implement health checks: Implement health checks to monitor the status of the application and ensure that it’s running correctly.
- Use a container orchestration tool: Consider using a container orchestration tool, such as Kubernetes or Docker Swarm, to manage and scale the application.
By following these best practices and troubleshooting common issues, you can ensure that your React JS application runs smoothly and efficiently in a Docker container.
Conclusion
In this guide, we’ve explored how to build, containerize, and deploy a React JS application with Docker. By using Docker, we can ensure that the application runs in a consistent and scalable environment, making it easier to deploy and maintain.
We started by preparing the environment for Docker and installing the necessary tools and dependencies. We then built and containerized the React JS application, ensuring that all the necessary dependencies and configurations were included in the Docker image.
Next, we explored how to deploy the application to a chosen environment and scale it as needed. Finally, we looked at some best practices and troubleshooting tips for working with React JS and Docker.
By following the steps outlined in this guide, you can build and deploy a React JS application with Docker, making it easier to manage and scale as your needs change. With Docker, you can focus on building great applications and leave the infrastructure to the experts.
Source Code
You can find the source code for this tutorial on GitHub.
References
- Docker Official Website
- React JS Official Website
- Dockerfile reference - Docker Documentation
- Docker Compose overview - Docker Documentation
- Node.js Official Website
- Get started with Docker - Docker Documentation
- Create React App - Official Documentation
- “Dockerizing a React App” - Docker Documentation.), https://www.docker.com/blog/dockerizing-a-react-app/
- “How To Dockerize a React Application” - DigitalOcean.), https://www.digitalocean.com/community/tutorials/how-to-dockerize-a-react-application
- “Best practices for writing Dockerfiles” - Docker Documentation.), https://docs.docker.com/develop/develop-images/dockerfile_best-practices/
- “Using Docker Compose for Local Development with React” - (Example: Search for tutorials on Medium or LogRocket.), [Link to a relevant tutorial]
- “Understanding .dockerignore files” - Docker Documentation.), https://docs.docker.com/engine/reference/builder/#dockerignore-file
- “Environment variables in Compose” - Docker Documentation.), https://docs.docker.com/compose/environment-variables/
- “Healthcheck - Dockerfile reference” - Docker Documentation.), https://docs.docker.com/engine/reference/builder/#healthcheck
- Visual Studio Code Official Website